Skip to content
Chicken Coop Heater

Winter coop advice with the sources shown.

Menu

How-to

Winterizing a Chicken Coop: A Weekend Checklist in Nine Steps

A winter chicken coop is dry, free of drafts at roost height and ventilated above the birds. Getting there is a weekend of work in fall: repair the roof, seal holes at bird height, check the vents, clean out and bed deeply, cover open wire sides, plan for liquid water and check the wiring. A heater is not on the list of any extension service as a first step.

by the editorial team updated October 11, 2026 7 min read

Disclosure: This page contains paid links to Amazon, marked with * or “paid link”. If you buy through them, we earn a commission at no extra cost to you. As an Amazon Associate I earn from qualifying purchases. This site is financed by these commissions; products are selected by the criteria on our methodology page. How we evaluate · Learn more

The short version

To winterize a chicken coop, do the repairs while it is still warm: fix roof leaks, find and seal holes that let wind reach the birds, make sure a vent near the roof stays open, replace the bedding with a deep dry layer, check that roosts are wood and roomy, cover open wire sides with plastic or a tarp that stops below the roofline, set up a way to keep water liquid, and inspect cords, outlets and fixtures.
Jump to a section
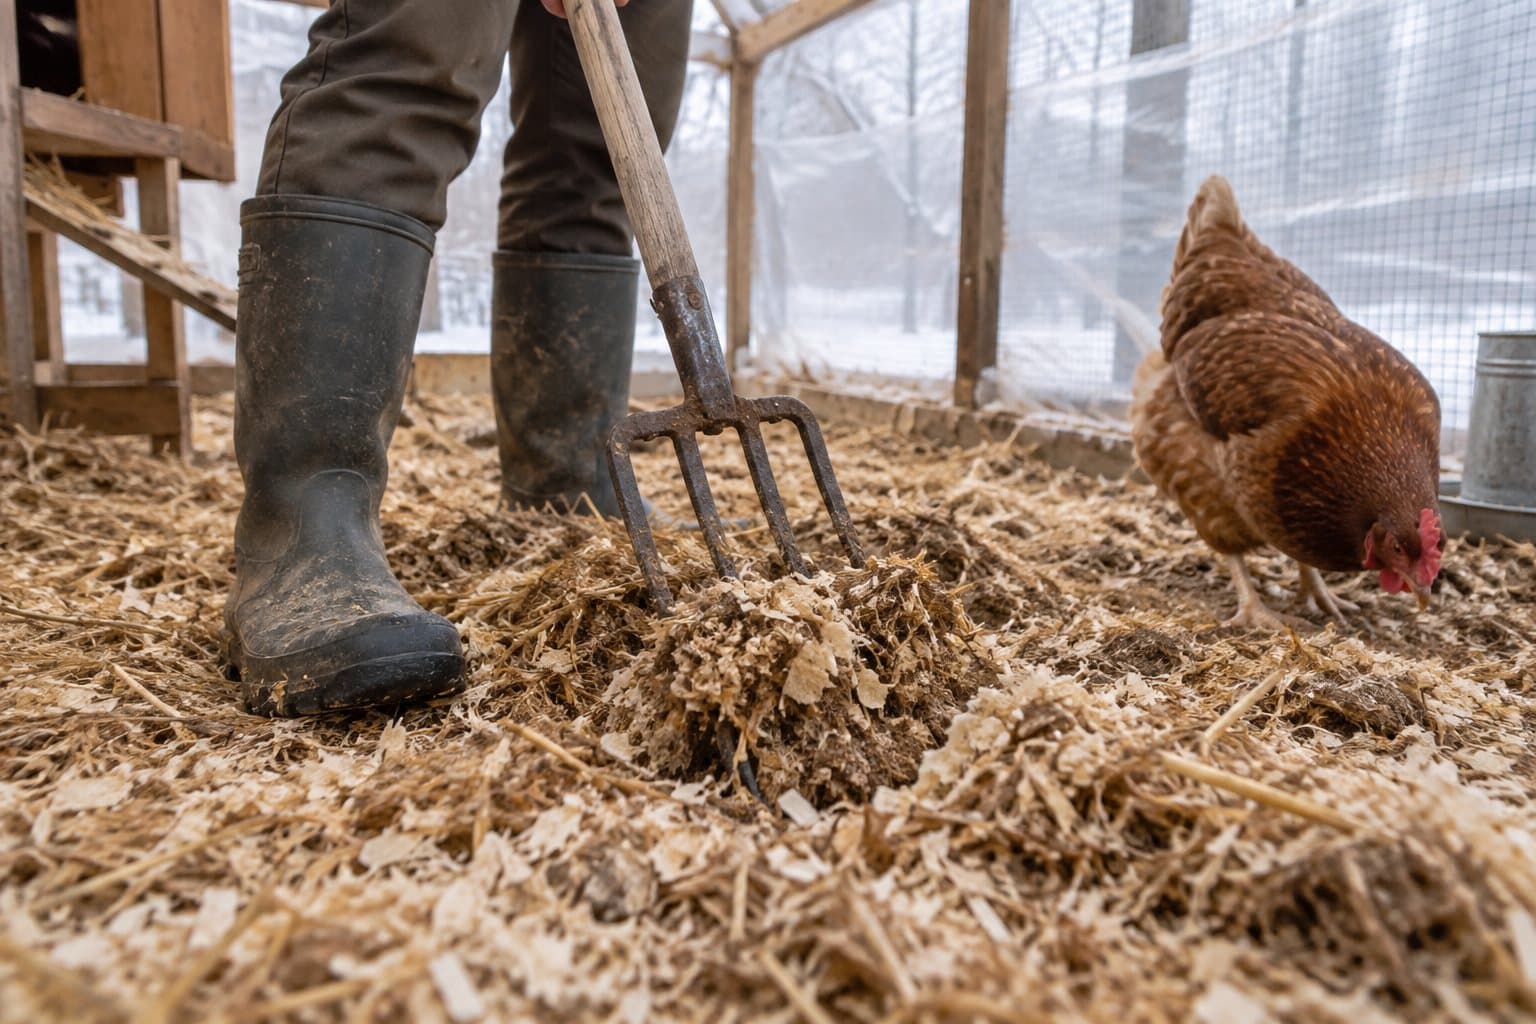
Boots and a garden fork turning deep, dry bedding in a chicken coop (AI-generated illustration)AI-generated

What you end up with, and what it takes

After this weekend the coop is tight where the birds sit, open where the moist air leaves, and bedded for the cold months. Most of the work is carpentry and cleaning. Plan one day for repairs and sealing and one for cleaning out, bedding, the wind cover and the checks of water and power.

The order follows the extension publications, which agree on the essentials even where they disagree about heaters. Ohio State University Extension adds the timing: make structural repairs in warm weather, before winter.

What you need

  • Roofing material, screws and boards for repairs
  • Caulk or spray foam for gaps, placed where birds cannot peck it
  • Sturdy wire or screen for vent openings
  • Fresh bedding: pine shavings, straw or another dry material
  • Heavy clear plastic or a tarp, with battens or staples to fix it
  • A flashlight or work light, a brush, a shovel and a wheelbarrow
  • A thermometer for roost height

Step by step

  1. Repair the roof and anything that leaks

    The University of Maryland Extension starts here: check the housing before winter and fix leaking roofs. Water in the coop raises ammonia levels and makes the birds harder to keep warm, and damp air feels colder than dry air.

  2. Find the holes after dark

    Ohio State describes a simple method. Turn on the lights in the coop after dark and inspect it from outside. Wherever light shows, air, moisture or pests can get in. Check doors and windows at the same time: they should close tightly and lock.

  3. Seal drafts at bird height

    Maryland advises sealing cracks and holes that blow fresh air directly onto the birds, with spray foam or a thick plastic sheet or tarp over problem areas. Ohio State adds that spray foam, caulk and insulation must not be accessible to the chickens. Whether to go further and insulate walls and ceiling is a separate decision, covered under insulated chicken coop.

  4. Check the vents near the roof

    Sealing ends below the roof. Maryland asks for a vent or opening near the roof or ceiling so that ammonia and stale air can escape. The University of New Hampshire Extension places vents on a side away from the prevailing wind and small enough to keep predators out. The University of Wisconsin–Madison Extension asks for sturdy wire or screen over inlets and outlets. More on placement under chicken coop ventilation.

  5. Clean out and bed deeply

    Ohio State recommends removing all used bedding and cleaning the coop before adding a large amount of new, dry bedding, and names wood shavings or chips, straw, soft hay, ground corn cobs and shredded paper. Maryland calls three to four inches of pine shavings or straw good insulation. New Hampshire recommends four to six inches where the floor is open to the ground.

  6. Check the roosts

    Maryland advises wooden roosts with a flat surface, such as a two-by-four, so that birds can cover their feet with their feathers, and warns against metal and plastic pipe. For space, Ohio State names 6 to 8 inches per bird and New Hampshire about 9 to 12. Use the larger figure if the roost allows it.

  7. Cover open wire sides

    Ohio State describes heavy plastic or a tarp as a temporary wall over open fenced sides, to block wind and moisture at ground level. Its limit is the important part: the cover should not reach the roofline. New Hampshire recommends bedding in an enclosed run as well. A clear tarp sold for coop winterizing* (paid link) lets daylight into the run. Its thickness and durability are the seller's statements. Sizes, fastening and the roofline rule are covered under winter covers for chicken coops and runs.

  8. Set up winter water

    Water is the one winter device question every flock has. Chickens cannot break ice, as Maryland points out. With a fixed outlet at the coop, a heated waterer keeps water from freezing with little daily work. Without one, plan to check and replace water at least twice a day. The methods are sorted by effort under how to keep chicken water from freezing.

  9. Inspect the electrics and store hay safely

    The NFPA safety tip sheet for backyard coops gives the list: check all wiring for damage, brush cobwebs and dust from light fixtures and outlets, choose bulbs that have covers, and do not use extension cords in the coop. It also asks that hay and bedding be stored away from anything that can burn. A cord that has been lying through the summer as a makeshift supply comes out now. What a fixed supply takes is described under electricity to the chicken coop.

The checklist at a glance

JobDone whenSource
RoofNo water gets inMaryland
HolesNo light shows through at bird height after darkOhio State
VentsAn opening near the roof is screened and openMaryland, New Hampshire, Wisconsin
BeddingOld litter out, three to six inches of dry material inOhio State, Maryland, New Hampshire
RoostsWood, flat, room for every birdMaryland, Ohio State, New Hampshire
Wind coverOpen sides covered, gap left below the rooflineOhio State, Maryland
WaterA method for liquid water is in placeMaryland, Ohio State
ElectricsWiring checked, dust brushed off, no extension cordsNFPA

Winter water: the one purchase most coops need

Our pick for waterAd

Farm Innovators

Farm Innovators HPF-100, 3 gal

A complete 3-gallon heated fountain with a built-in thermostat for a dry, sheltered spot in the coop.

Why here: For step 8 with a fixed outlet at the coop: a complete 3-gallon heated fountain with a built-in thermostat. The manufacturer rates it to keep water from freezing down to 0 °F. For colder regions, compare the alternatives first.

Best for: Small backyard flocks in regions where winter lows stay above about 0 °F.

What speaks for it

  • All-in-one: reservoir, trough and 100 W heater in one unit
  • Thermostatically controlled: operates only when temperatures fall below 35 °F (instruction sheet)
  • Foldable legs allow three heights (manufacturer)
  • Manufacturer publishes instructions and a one-year guarantee

What to know first

  • Rated to keep water from freezing down to 0 °F only (manufacturer) – not the choice for deep northern cold
  • Fills from the bottom, so it has to be taken down and turned over
  • Open trough gets dirtier than nipples do
  • An indoor product for a dry, sheltered area, placed on a hard, flat surface and protected from wind (instruction sheet); the product page says “designed to hang”
  • Needs a grounded cord and plug on a fixed GFCI outlet (NFPA, instruction sheet)
Type
Heated fountain with trough
Power
100 W
Capacity
3 gal
Thermostat
built in; operates below 35 °F (instruction sheet)
Use
Hard, flat surface in a dry, sheltered area (instruction sheet); fills from the bottom
Rated to
0 °F (manufacturer)
Warranty
1 year (manufacturer)
Price class
mid-range

A heated waterer prevents ice. It does not serve warm water. Which unit suits which climate and flock is on the heated chicken waterer page. The same electrical rules apply as for any device in the coop: the NFPA tip sheet asks for a properly grounded cord and plug on electrically heated poultry waterers.

What is not on the list

A heater. No extension publication read for this site makes a heater part of preparing the coop. Whether your flock is one of the cases that may need one is the subject of do chickens need heat in the winter.

A sealed coop. Ohio State's wording is to control the airflow, not to eliminate ventilation. Humid air raises the risk of frostbite more than dry air does.

Additives in the water. No primary source read for this site recommends any.

Typical mistakes

  • Starting in the first cold snap. Repairs and cleaning go better in warm, dry weather.
  • Sealing the vents along with the drafts. Close what blows on the birds, not what lets moist air out.
  • Leaving foam or insulation exposed. Ohio State asks that the birds cannot reach it.
  • Running the plastic up to the roof. Leave the gap.
  • Adding fresh bedding on top of wet litter. Take the wet material out first.
  • Skipping the wiring check. The Maine Fire Marshal's Office names heat lamps, extension cords, bedding and water heaters as the main causes of coop fires. Three of those four are part of this checklist. More under chicken coop fire safety.

After the weekend

Winterizing is the building. The daily routine that follows is under how to keep chickens warm in winter. If you decide to add a heater after all, the order of steps is under how to heat a chicken coop. The overview of heaters and waterers starts on the chicken coop heater home page.

Questions keepers ask

How do I winterize a chicken coop?

Work from the outside in. Repair the roof, seal cracks and holes that let wind blow on the birds, and keep a vent near the roof open. Then clean out the old litter and add a deep layer of dry bedding, check the roosts, cover open wire sides with heavy plastic or a tarp that stops below the roofline, and set up winter water. Finish with a check of all wiring, outlets and fixtures.

When should I winterize my chicken coop?

Before the cold arrives. Ohio State University Extension advises making structural repairs in warm weather, before winter. Sealants cure better, the coop dries out after cleaning, and the birds can stay outside while you work. Fall is also when the birds acclimate, and the same source recommends letting them adjust to falling temperatures naturally.

What makes a good chicken coop for winter?

Going by the extension sources, four things: a tight roof and walls at bird height, an opening near the roof for moist air, deep dry bedding, and wooden roosts with room for every bird. The University of Maryland Extension adds placement: a coop that catches sunlight during the day, for example behind trees that drop their leaves, is warmer in winter.

Should I wrap my chicken coop or run in plastic for winter?

Covering open wire sides is a measure two extension services name. The University of Maryland Extension suggests a thick plastic sheet or tarp over problem areas, and Ohio State University Extension describes heavy plastic or a tarp as a temporary wall against wind and moisture. Ohio State adds the limit: the cover should not reach the roofline, so that air can still move.

Do I need a heater to winterize a chicken coop?

It is not part of winterizing in any of the extension publications read for this site. Three services advise against supplemental heat for protected adult birds, one recommends it below 35 °F inside the coop, and two say it depends on the flock. All put a dry, draft-free, ventilated coop first. What every flock does need in winter is water that is not frozen.

Sources we read

Keep reading

Who is behind this page

chickencoopheater.com Editorial Team

Coop heat, winter water and the sources behind both

We are the editorial team at chickencoopheater.com. We read what university extension services, the NFPA and manufacturers publish about heating a coop and keeping water liquid, and turn it into plain-English buying advice with the sources on every page.

  • Extension and fire-safety sources named
  • Manufacturer data and manuals compared
  • Disagreements between sources shown
  • Compared by manufacturer data

About us How we evaluate